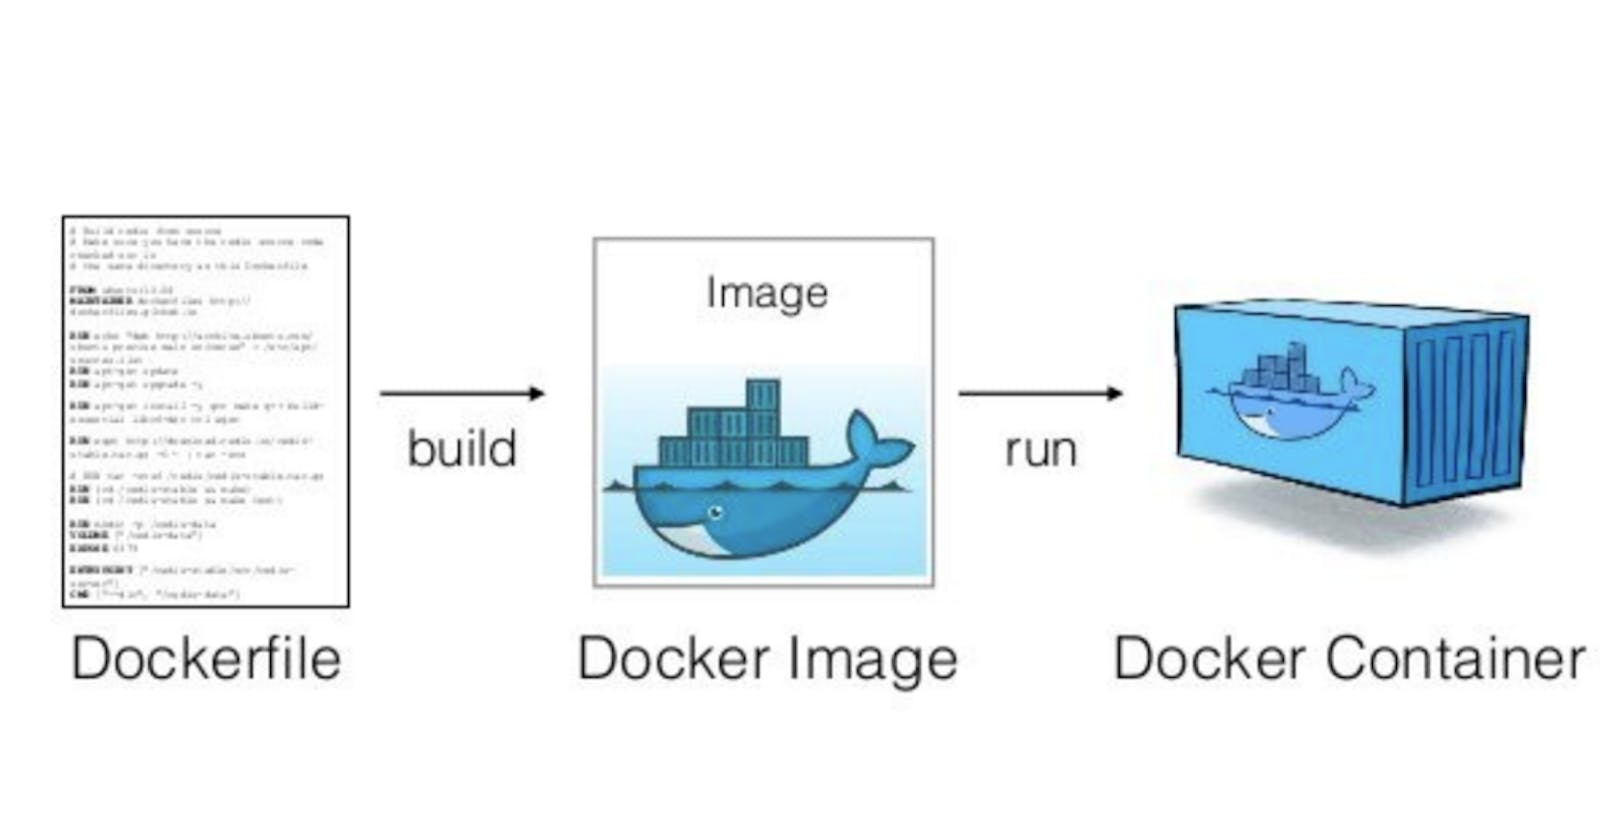
Dockerfile:
Docker builds images automatically by reading the instructions from a Dockerfile which is a text file that contains all commands, to build a given image.
A Dockerfile is a text file with instructions to build a Docker image.
When we run a Dockerfile, a Docker image is created.
When we run the docker image, containers are created.
Dockerfile syntax:
# syntax=docker/dockerfile:1

FROM ubuntu:22.04
COPY . /app
RUN make /app
CMD python /app/app.py
FROMcreates a layer from theubuntu:22.04Docker image.COPYadds files from your Docker client's current directory.RUNbuilds your application withmake.CMDspecifies what command to run within the container.
The Dockerfile supports the following instructions:
| Instruction | Description |
ADD | Add local or remote files and directories. |
ARG | Use build-time variables. |
CMD | Specify default commands. |
COPY | Copy files and directories. |
ENTRYPOINT | Specify the default executable. |
ENV | Set environment variables. |
EXPOSE | Describe which ports your application is listening on. |
FROM | Create a new build stage from a base image. |
HEALTHCHECK | Check a container's health on startup. |
LABEL | Add metadata to an image. |
MAINTAINER | Specify the author of an image. |
ONBUILD | Specify instructions for when the image is used in a build. |
RUN | Execute build commands. |
SHELL | Set the default shell of an image. |
STOPSIGNAL | Specify the system call signal for exiting a container. |
USER | Set the user and group ID. |
VOLUME | Create volume mounts. |
WORKDIR | Change the working directory. |
What is the need for Dockerfile as a DevOps Engineer/practitioner?
Dockerfiles are essential tools for DevOps engineers because they provide a standardized and efficient way to package, deploy, and run applications within containers.
Dockerfiles serve as blueprints for DevOps practitioners, ensuring that applications operate consistently across various environments.Dockerfile automates the deployment process, simplifying the preparation of applications for deployment.
Let do some hands-on questions:
Create a Dockerfile for a simple web application (e.g. a Node.js or Python app)
Build the image using the Dockerfile and run the container
Verify that the application is working as expected by accessing it in a web browser
Push the image to a public or private repository (e.g. Docker Hub )
Github link for the project: https://github.com/vishalkumar-vk/studentflask-app
Step 1: Creating a docker file.

Content inside the Dockerfile:

Save it using esc+ colon + wq (esc +:wq)

Note: Whenever you create a Dockerfile make sure 'D' should always be in capital letters and in the same directory of the project file.
Step 2: Building the docker file.

Here we got our image from building the docker file.

Step 3: Run the container from the image and assign the port number.

Step 4: We can see our application is running fine on localhost:5000(portnumber=5000).

Step 5: Now we can push it to the docker hub.
Note: Before pushing the image to the docker hub we have to log in first with our docker hub account. You can use the command docker login for login to your account.
After that, you have to tag the image using your docker hub user name and repository name. After tagging the image you can push the image to the docker hub by giving the command docker push username/repository:tag

Here is the image we pushed on the docker hub.

Summary:
In this blog, we learn about the concept of Dockerfile. We see how a DevOps Engineer automates their task using Dockerfile. In our hands-on we saw through Dockerfile we can create images. After that, we saw the process of how we can run the container on our local host and how we can push our image to the docker hub.
